Our latest project is called VINTAGE ANCESTORS. This is the idea: Everyone creates a journal and starts it off with a family or family member with the use of cabinet cards! If you are familiar with cabinet cards, it appears that only ugly people got their pictures taken back then. They are AWFUL!!
There are 10 artists in this group. They can choose to leave the ugly relative as is or alter their cabinet card. They now write a story about this family/relative and send it on to the next person. This next artist adds a relative to this family. On one side they will have their cabinet card and on the other side a story about that relative.
With the amazing ladies in this group I can not wait to hear about all my lost relatives!!! It is bound to be a journal of hilarity and fun!
Today I started my journal. I have had an idea in my head for a while and I'm happy to report I was able to bring that idea to life! (Now, THAT, does not happen often so humor me here!).
I went to Ebay (one of my favorites haunts) and purchased a vintage cabinet card album. You know those albums..... the one that house all those ugly people?
I took the album apart as so.....


These are the cabinet card photo pages that came in the book. Each of these pages "house" two cabinet cards back to back.


What I wanted was to use the cabinet card photo pages in the journal but allow a page for the writing and art. You have a cabinet card slot on the right with a page for art on the left, and when you flip the page, you can place a cabinet card on the left and do art on the right. Seemed easy in my head....


I was quite proud of this idea but had some technical difficulties with it. How as I going to put the photo page in between the folded bristol page? How was I going to secure it down so that even with all the manhandling it would receive, it would not fall apart?

I then decided to put the photo page BEHIND the folded bristol page. I could still accomplish what I wanted and there would be two blank pages after every layout which could be used to add some extra collage work or art by those who wanted to add something else. If not, they could just be taped closed and voila! No worries.

First I used the tissue tape to tape the photo page to the bristol paper but it seemed flimsy (because the photo page is relatively heavier) and didn't give me a soft and fuzzy feeling. So now what?

Tyvek of course!!! I cut strips of Tyvek and put tons of scor-tape on them. I then attached the photo page (which is heavy) to the bristol page with the Tyvek. This was becoming indestructible!


So now I have the photo page securely attached to the bristol paper and am still not happy. The space between the bristol paper and the photo page looked ugly.
 SEE??????
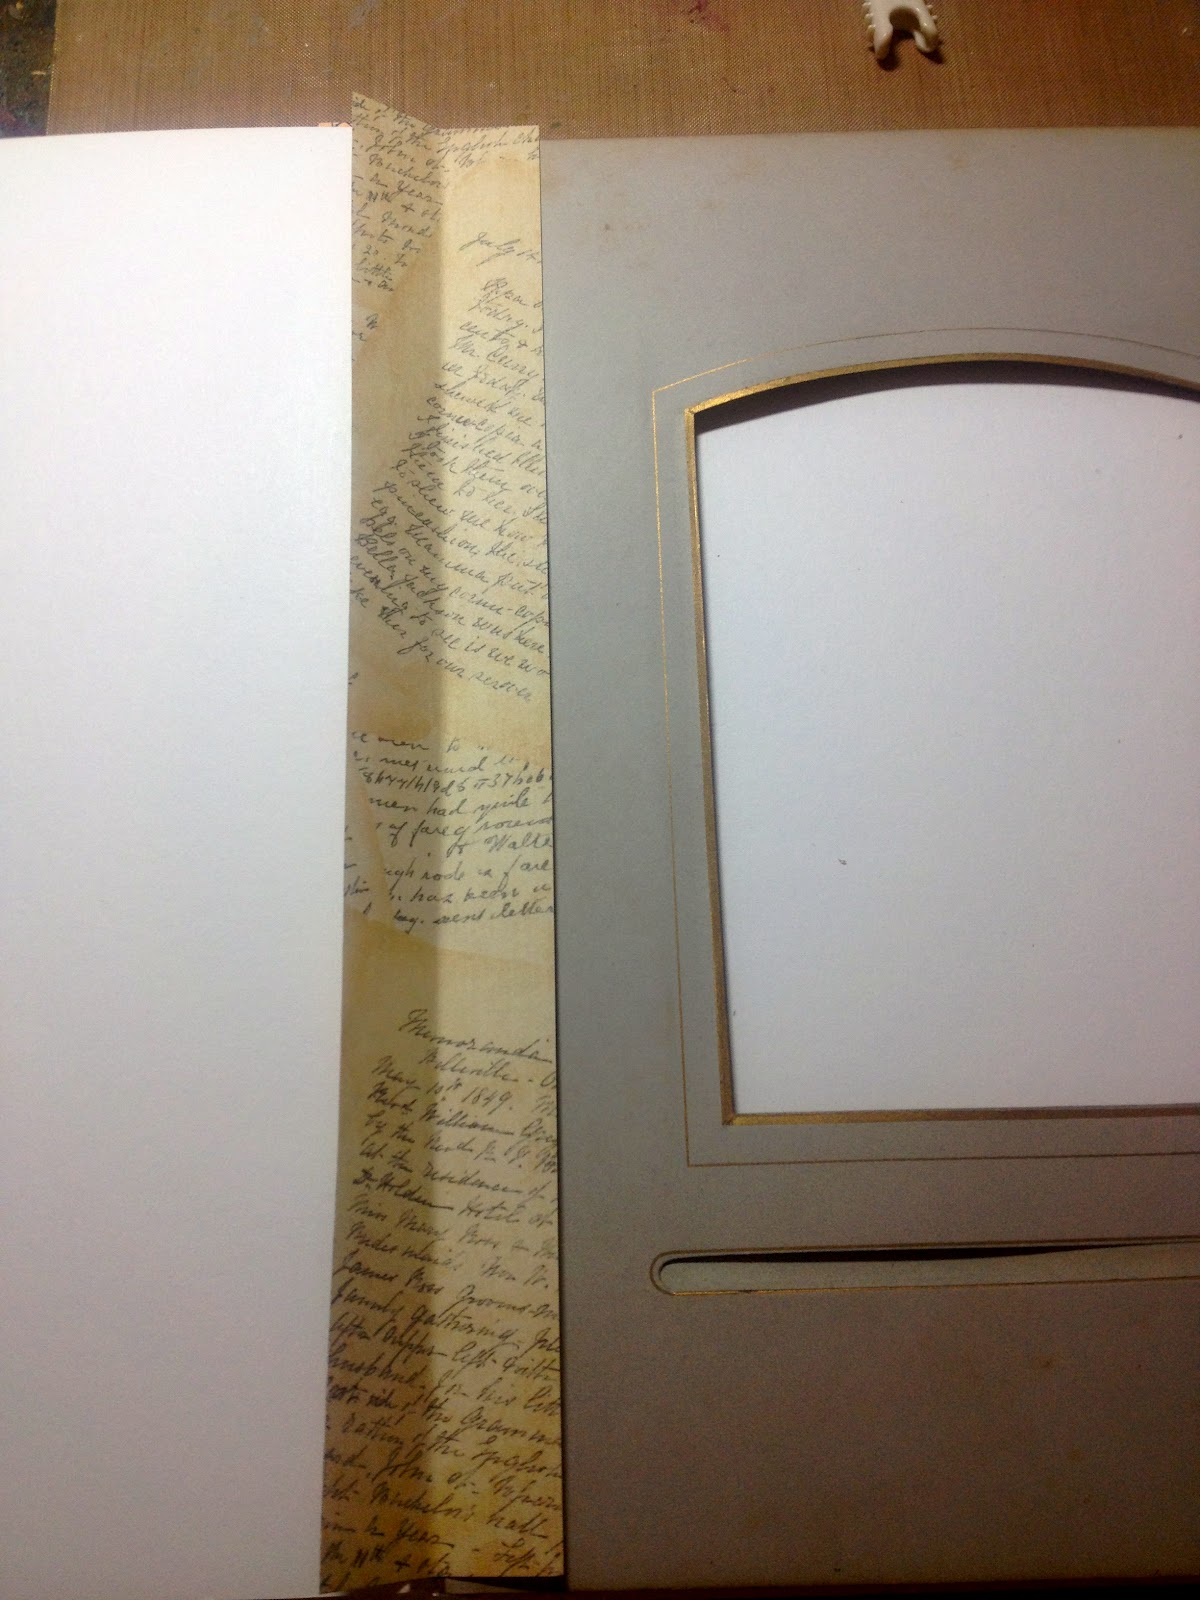
So I cut up some pretty vintage papers in strips and added them with scor-tape to all the areas between the pages - both the bristol to bristol and the bristol to photo page. Not only did it look great, but it was yet another reinforcement. (This Journal can go to WAR!)

This is what the book block looked like after all the above was done. Pretty Huh? Too bad I don't want to leave it like that!

Back to the Tyvek! I cut a strip of Tyvek and covered the entire spine of the book block with it. Not only does this mega-secure the book block, but it allows me to tape the spine to the fabric that will cover it.

When you open the book, this is what you see. What I had originally wanted.... a photo page on the right with the art page on the left.. and


The fun part has to wait. I'm so done for today! Time to pull out lace, doilies, flowers, charms.... oh lord!!! The possibilities to decorate this book are ENDLESS!!!
What a GREAT idea! I loved reading this. It looks beautiful.
ReplyDeleteHow fabulous! Great explanation too.
ReplyDeleteTyvek to the rescue!! Great job!
ReplyDelete